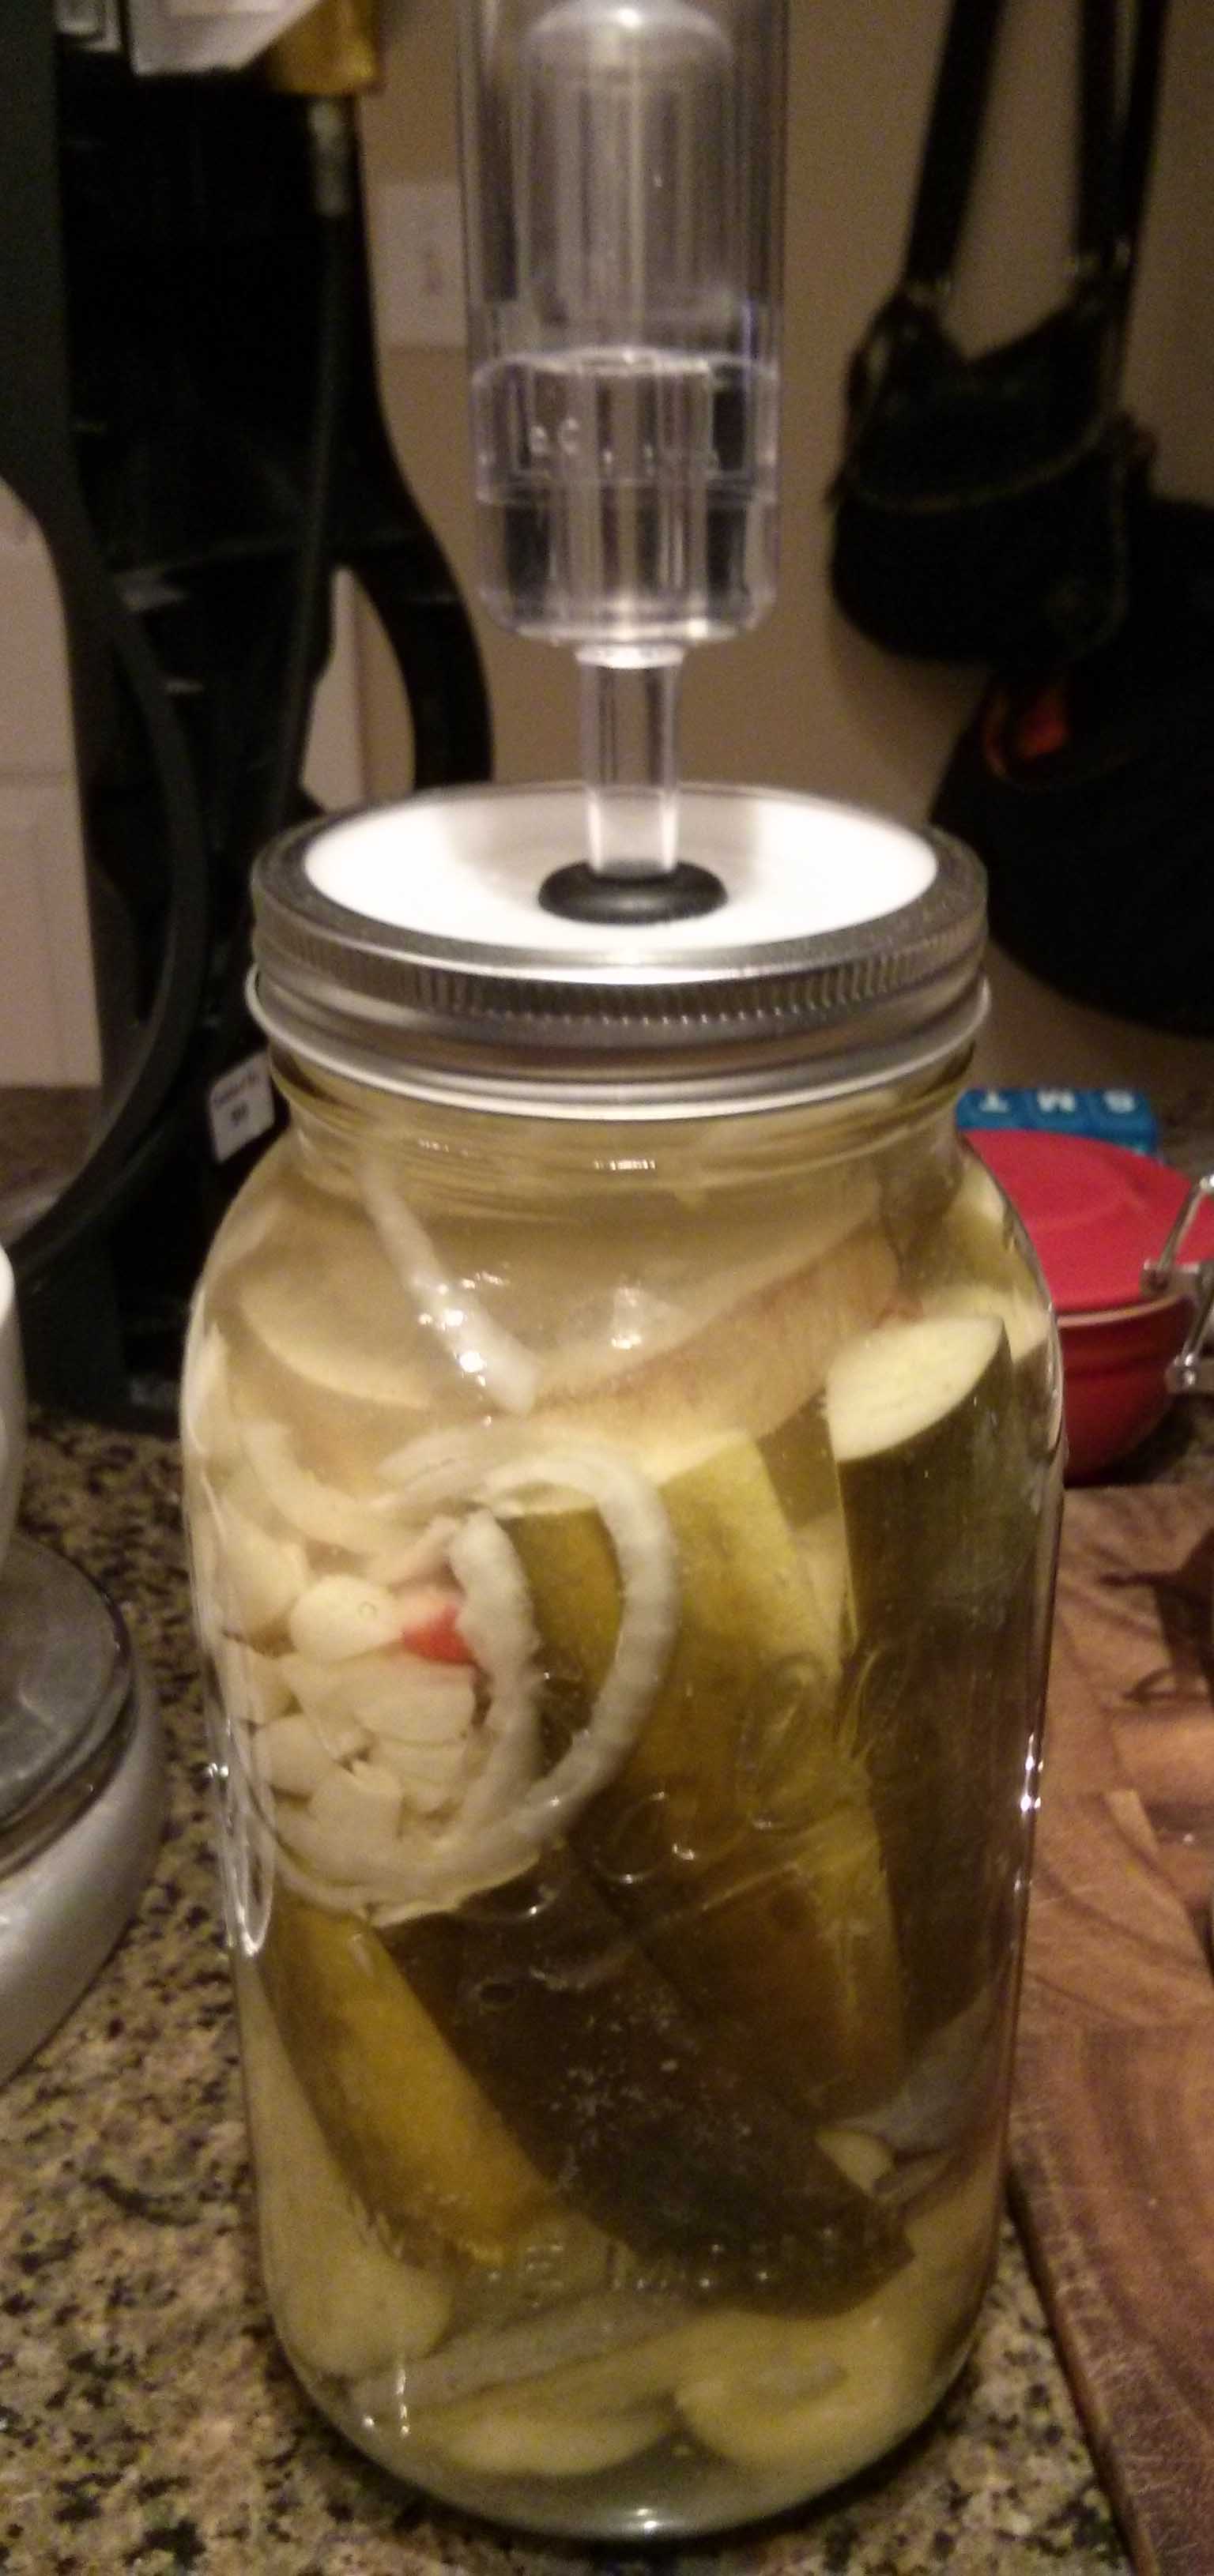
After making my first successful batch of Lacto-fermented pickles (or as Aulm called them, Hippy pickles), I’m glad to share with you the details!
First… a picture:

First you should realize that the pickles you purchase in the store are dead… yes dead. They are packed in vinegar and then pasteurized to kill anything and everything. It’s still food, but by killing off everything, you’ve also killed off the bacteria that is not only good, but nessesary for our digestion.
Lacto-fermentation is the process by which Kimchi, Sauerkraut, pickles and a host of other pickled products should be produced… and have been for thousands of years before pasteurization. At its most basic, you are submerging veggies in a salt water solution to prevent bateria we don’t want to ingest, while promoting lactobacillus, which we do want. (You know, like why you want real yogurt and not the sterilized sugar junk).
So how can you make your own lacto-fermented products, quick, easy and cheaply? Glad you asked:
http://www.foodcraftlab.com/guides/food-guides/airlock-for-your-ball-jar
This guide explains how to make your own Pickle-ator. (I purchased mine for the recipe book, but will be making more so that I can make other varieties at the same time.
http://www.foodcraftlab.com/food/fermentation/how-to-make-wild-fermented-pickles
This post from the same website offers a very in-depth look at making pickles… but if its info overload, here’s a simple recipe:
2.5lbs Cucumbers (small are best, but if you can only find large ones, cutting them into spears works)
1/2 medium Onion thinly sliced (we used less and chose a sweet variety)
12 cloves peeled fresh garlic
any spices you like. Bay leaves, pickling spices and hot peppers are good options.
Brine:
1 quart water (don’t use straight tap as too much chlorine effects the good bacteria. Filter it, or use bottled water for best results.)
2 T plus 2 tsp non-iodized salt (makes a 5.25% salt concentration per quart) Iodized table salt will make your brine grayish, so we use sea salt.
Rinse veggies and load into jar, cucumbers first, then onion, garlic, spices, etc on top.
Leave 2" of space above veggies
Add weights if you have them
Add brine, leaving 1.5" of head room in jar
Assemble lid and airlock.
Fermentation time:
Half sour: 5-7 days
Full Sour: up to 21 days
(we liked 10 days… nice sour, spicy from the peppers and a good tingle)
You can open and sample the pickles to find your preferred timing. If they aren’t fermented to your liking, just put the lid back on! When they are tasting just right, put a normal lid on the jar and move to the fridge to drastically slow the process. The pickles will continue to sour over time, even in the fridge, but you’ll probably eat them long before that!
The key to crispy pickles is temperature. Ideally you would keep them in a dark, cool area between 68F-72F. Too much warmer and they ferment too fast and lose some of their crunch. Even when done, put in the fridge to cool as this helps them crisp up.
**Ceramic weights are a good purchase, even for pickles, as this prevents the development of a benign but somewhat unappetizing reddish yeast on surface foods. Keep all veggies under the surface of your brine with your weights to avoid having to skim that! xD
Now bear in mind, you don’t need a pickle-ator to start making lacto-fermented foods. Without the airlocks, however, the smell of pickles will invade your house. From time to time, the pickles will off-gas through the air lock, but that’s just their way of teasing you with all the goodness you’ll soon be enjoying! =P
If you want to make other fermented foods, the internet is full of recipes that will work in your Pickle-ator! Share your favorites here as you find them and I’ll do the same!